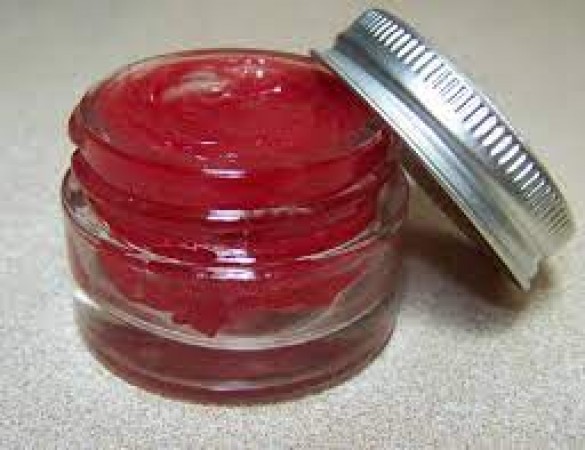
In this easy-to-follow guide, we'll show you how to make lip balm at home, using simple ingredients you probably already have in your kitchen. Say goodbye to chapped lips and hello to soft, luscious smiles with your very own homemade lip balm.
Gather Your Supplies
Before we dive into the recipe, let's ensure you have all the necessary ingredients and equipment on hand:
Ingredients:
- Beeswax pellets
- Coconut oil
- Shea butter
- Essential oil (e.g., lavender, peppermint, or citrus)
- Vitamin E oil (optional)
Equipment:
- Double boiler or microwave-safe bowl
- Lip balm containers or small jars
- Stirring utensil
- Measuring cups and spoons
The Basic Recipe
Step 1: Melt the Beeswax
- Start by melting 2 tablespoons of beeswax pellets in your double boiler or microwave-safe bowl. Beeswax acts as a natural emulsifier and helps to solidify your lip balm.
Step 2: Add Coconut Oil and Shea Butter
- Once the beeswax is melted, mix in 2 tablespoons of coconut oil and 1 tablespoon of shea butter. These ingredients will moisturize and nourish your lips.
Step 3: Infuse with Essential Oil
- Add a few drops (typically 5-10, depending on your preference) of your favorite essential oil. Popular choices include lavender for relaxation, peppermint for a refreshing sensation, or citrus for a zesty twist.
Step 4: Optional: Enhance with Vitamin E Oil
- For extra lip care, consider adding a few drops of vitamin E oil. It's known for its skin-soothing and rejuvenating properties.
Step 5: Pour into Containers
- Carefully pour your lip balm mixture into lip balm containers or small jars. Leave a little room at the top as the balm will solidify as it cools.
Let It Set
Allow your lip balm to cool and solidify for about an hour. Once it's firm to the touch, you're ready to use your homemade lip balm.
Tips and Tricks
Experiment with Flavors
- Get creative with your lip balm by trying different essential oil combinations. How about a vanilla and honey blend for a sweet treat?
Customizable Color
- Add a pinch of natural beetroot powder or cocoa powder for a hint of color.
Label Your Creations
- Personalize your lip balm containers with fun labels or stickers. It's a great gift idea, too!
Store Properly
- To prolong the shelf life of your lip balm, store it in a cool, dry place.
Now that you know how to make lip balm at home, you can enjoy the benefits of soft, hydrated lips all year round. This DIY project not only saves you money but also allows you to customize your lip balm to suit your preferences. Get creative, have fun, and pucker up with your very own homemade lip care!
You'll be shocked by these eye-opening facts about glasses
From owning Jet Black-themed businesses to owning a Jet Black Home, meet Manzil Pathan.
How Often Should You Wash Your Jeans? A Simple Guide
