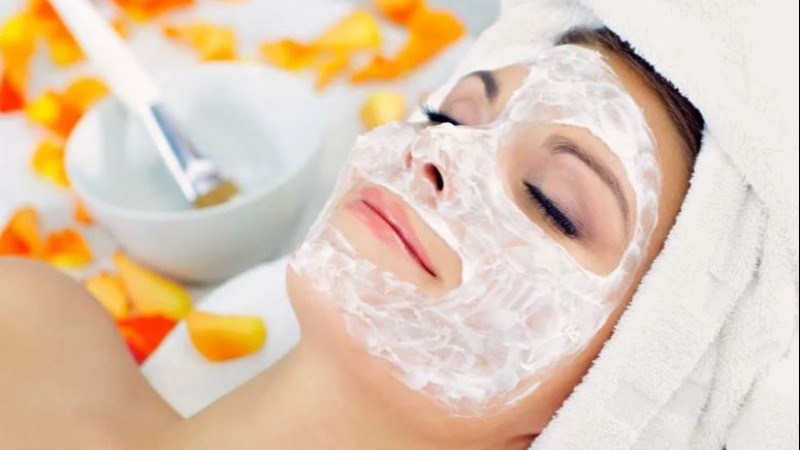
Facials can significantly improve blood circulation in the skin, helping to keep it tight and youthful. Additionally, they help remove dirt and dead skin cells, resulting in a radiant complexion and clearer skin tone. Among various types of facials offered at salons, gold facials have gained immense popularity due to their numerous skin benefits. However, salon treatments can be expensive, and during festive seasons, many people find themselves rushing through facials, which can lead to unsatisfactory results. With Karva Chauth approaching on October 20, if you find yourself short on time to visit a salon, you can easily perform a gold facial at home.
While there is an abundance of products available in the market, many can cause side effects on the skin and come with a hefty price tag. Fortunately, several organic ingredients can provide a golden glow similar to that of a professional facial. Here’s how you can achieve glowing skin with a homemade gold facial.
Step 1: Skin Bleaching
Ingredients Needed:
1 potato
A few drops of lemon juice
1-2 tablespoons of rice flour
Tomato juice
Method:
Grate the potato and extract its juice using a clean cloth.
In a bowl, combine the potato juice with a few drops of lemon juice, rice flour, and tomato juice.
Blend these ingredients in a grinder until you achieve a smooth paste.
Apply this mixture to your face and let it sit for 20 to 25 minutes.
Rinse your face with water and pat dry.
This bleaching step will help brighten your skin and prepare it for the subsequent facial treatments.
Step 2: Exfoliation
Ingredients Needed:
1-2 tablespoons of rice flour
Yogurt
Aloe vera gel
Method:
After bleaching, allow your skin to rest for a few minutes.
In a bowl, mix the rice flour with yogurt and aloe vera gel to create a scrub.
Using circular motions, gently massage this scrub onto your skin for 5 to 8 minutes. This exfoliation will help remove dead skin cells and impurities.
Wipe your face clean using wet wipes or a damp cloth.
Exfoliating not only cleanses the skin but also enhances its texture.
Step 3: Preparing the Gold Facial Paste
Ingredients Needed:
2 tablespoons of sandalwood powder
3 tablespoons of aloe vera gel
A pinch of turmeric
Rose water
Method:
In a bowl, combine the sandalwood powder, aloe vera gel, and turmeric.
Add rose water gradually until you achieve a creamy paste.
Apply this paste generously on your face and neck, and massage in circular motions for at least 10 minutes.
Ensure your hands are smooth during the massage, and feel free to apply more aloe vera gel if needed for a smoother application.
This gold facial paste helps nourish the skin and gives it a radiant glow.
Step 4: Skin Soothing Gel
Ingredients Needed:
Aloe vera gel
Rose water
Method:
Mix aloe vera gel with rose water to achieve a thinner texture.
Apply this gel to your face and gently tap it in until it absorbs completely.
Allow the gel to dry for about 30 seconds before moving on to the next step.
This soothing gel hydrates the skin and prepares it for the facial pack.
Step 5: Applying the Face Pack
Ingredients Needed:
Multani mitti (Fuller’s Earth) or sandalwood powder
Rose water
Method:
If you have multani mitti, mix it with water to create a smooth paste. Alternatively, mix sandalwood powder with rose water for a face pack.
Apply this pack to your face and allow it to sit for 20 minutes.
Rinse off with lukewarm water, followed by a splash of cold water to tighten the pores.
Using a face pack post-facial helps relax the skin and enhances the overall glow.
By following these detailed steps, you can achieve a professional-quality gold facial at home without the risk of side effects and at a fraction of the cost. This DIY gold facial will not only rejuvenate your skin but also prepare you for festive occasions like Karva Chauth, leaving you with a radiant and glowing complexion. Enjoy the process and treat your skin with the care it deserves!
Celebrating World Anesthesia Day: The Power of Painless Medicine
India and U.S. Strengthen Biopharma Supply Chain Through Strategic Partnership